Google+の準備
まずはGoogle+に自分のアカウントを作っておきます。
続いて、Google Developersにサインインします。
Google+のAPI利用登録(OAuth)
API Consoleのページを開きます。
API Project > Services
Google+APIを選択し、StatusをONにします。
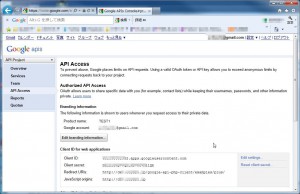
API Project > API Access
Authorized API AccessでCreateClientIDで作成します。
アプリケーションタイプは、ウェブアプリケーションを選択します。
Authorized Redirect URIs にコールバックするURLを記述します。
JavaScript OriginsにURLを記述します。
CreateClinetIDボタンを押します。
Google+のサンプルプログラムの実行
Google+ Platformホームページを開きます。
Downloadsを選択すると、クライアントライブラリ一覧が表示されます。
ここではPHPを使用するので、PHP版のクライアントを選択します。
メニューのダウンロードから最新版をダウンロードします。
google-api-php-client-0.4.X.tar.gz
解凍したら、/google-api-php-client/examples/plus/のindex.phpを開きます。
この部分※を先ほど、取得したClientIDなどに置き換えコメントを外します。
$client->setClientId('insert_your_oauth2_client_id'); ←※

$client->setClientSecret('insert_your_oauth2_client_secret'); ←※

$client->setRedirectUri('insert_your_oauth2_redirect_uri'); ←※

$client->setDeveloperKey('insert_your_developer_key'); ←※
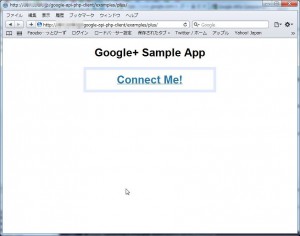
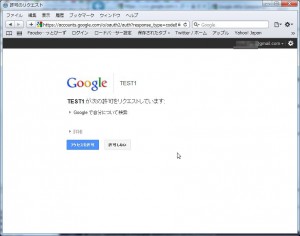
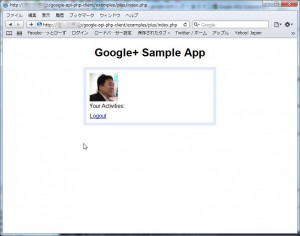
修正したら、サーバなどにアップして実行します。
http://[ほげほげ]/google-api-php-client/examples/plus


